


In Prisma, a model file is typically created as part of a Prisma Schema file, which is where you define your application’s data model (i.e., the entities in your database). Here’s how to create and set up a basic model file using Prisma. Model File in Prisma
In the context of Object-Relational Mapping (ORM), a “model” refers to a class that represents a database table. Each instance of the model corresponds to a row in that table, and the attributes of the class correspond to the columns of the table. ORM frameworks facilitate the interaction between your application (usually written in an object-oriented programming language) and the relational database by allowing developers to work with objects rather than SQL queries or database records directly.
ORM is a programming technique used to convert data between incompatible type systems in object-oriented programming languages. It allows developers to work with a database in an object-oriented manner, abstracting away the complexity of database interactions. Common ORM libraries include Hibernate (Java), Entity Framework (.NET), Django ORM (Python), and SQLAlchemy (Python).
Table of Contents
The Role of Models in MVC when Using ORM
In an MVC architecture where ORM is utilized, the Model plays a vital role as follows:
- Data Representation: The Model represents the data in the application using object-oriented structures. Each class in your Model corresponds to a table in the database, and each instance of a class represents a row in that table.
- Database Operations: The Model interacts with ORM, allowing for sophisticated database operations (CRUD – Create, Read, Update, Delete) using methods instead of raw SQL queries. For example, with an ORM, you can create a new user simply by instantiating a User object and calling
save(), rather than writing SQL to insert a row in the database. - Abstraction Layer: The Model acts as an abstraction layer that manages the persistence of data. By using ORM, developers do not need to write SQL manually. The ORM translates the object operations into SQL queries automatically.
- Business Logic: The Model often contains business logic related to the data. This can include validation, calculations, or rules around how data can be manipulated.
- Change Notification: In many frameworks, Models can notify the View about changes in their state (often through event mechanisms), allowing the View to update automatically without the need for manual intervention.
Key Concepts of a Model in ORM:
- Representation: A model encapsulates the data and behavior of the specific entity it represents (for example, a “User” model represents the users in the system).
- Mapping: Each model class typically has metadata that maps its attributes to the database table’s columns. This is often done through annotations or configuration files.
- CRUD Operations: ORM models usually provide a set of methods for creating, reading, updating, and deleting records (commonly referred to as CRUD operations).
- Relationships: Models can define relationships with other models (e.g., one-to-many, many-to-many), allowing you to navigate and manipulate related data easily.
- Validation: Models often include validation logic to ensure data integrity before it’s persisted to the database.
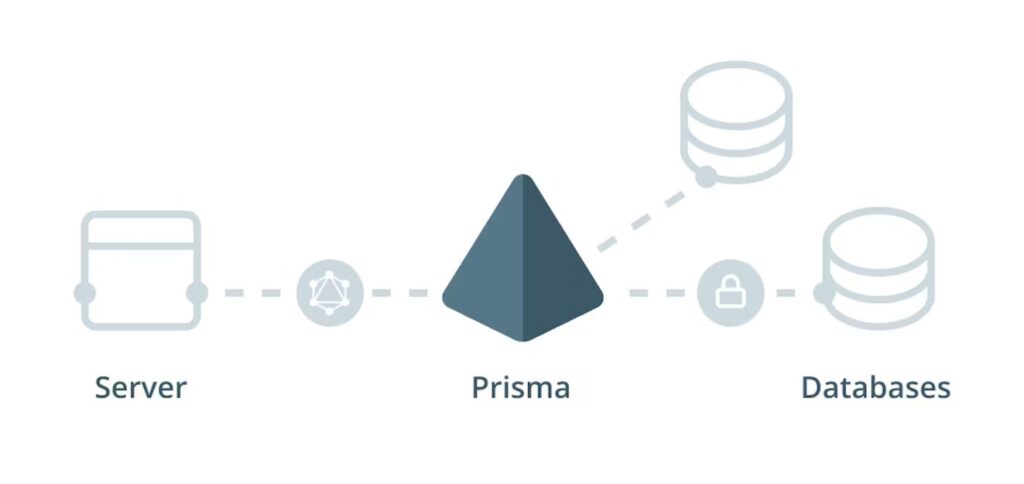
Enhance Node.js Apps with Prisma ORM for Database Ease
Step-by-Step Guide to Create a Model File in Prisma
- Install Prisma: If you haven’t already, you need to set up Prisma in your Node.js project. Run the following command:
   npm install prisma --save-dev
npm install @prisma/client- Initialize Prisma: Next, initialize Prisma in your project. This command will create a
prismafolder containing theschema.prismafile.
npx prisma initThis will create a directory structure like this:
   your-project/
   ├── prisma/
   │   └── schema.prisma
└── package.json- Define Your Data Model: Open the
schema.prismafile in your code editor. This is where you’ll define your data models. Below is an example of how to define a model:
   datasource db {
     provider = "postgresql" // Change as per your database (e.g., "mysql", "sqlite", etc.)
     url      = env("DATABASE_URL")
   }

   generator client {
     provider = "prisma-client-js"
   }

   model User {
     id    Int     @id @default(autoincrement())
     name  String
     email String  @unique
     posts Post[]
   }

   model Post {
     id        Int    @id @default(autoincrement())
     title     String
     content   String?
     published Boolean @default(false)
     authorId  Int
     author    User   @relation(fields: [authorId], references: [id])
   }
In this example, two models are defined: User and Post. Each User can have multiple posts, establishing a one-to-many relationship.
- Run Database Migration: After defining your models, you need to create a database migration that generates the corresponding tables in your database. Run the following command:
npx prisma migrate dev --name initThis will create and apply a migration based on the models you’ve defined.
- Generate Prisma Client: After the migration, you may also want to generate the Prisma client, which allows you to interact with your database in your application code. Running the migration command also generates the client automatically.
- Use the Prisma Client: In your application code (e.g., in a
server.jsorapp.jsfile), you can import and use the Prisma Client to perform database operations:
   const { PrismaClient } = require('@prisma/client');
   const prisma = new PrismaClient();

   async function main() {
     const allUsers = await prisma.user.findMany();
     console.log(allUsers);
   }

   main()
     .catch(e => console.error(e))
     .finally(async () => {
       await prisma.$disconnect();
     });
Conclusion
That’s it! You have now created a model file in Prisma and set up your environment to interact with a database using the defined models. You can further expand your schema by adding more models, relations, and fields as needed. Make sure to consult the Prisma documentation for more advanced features and best practices.